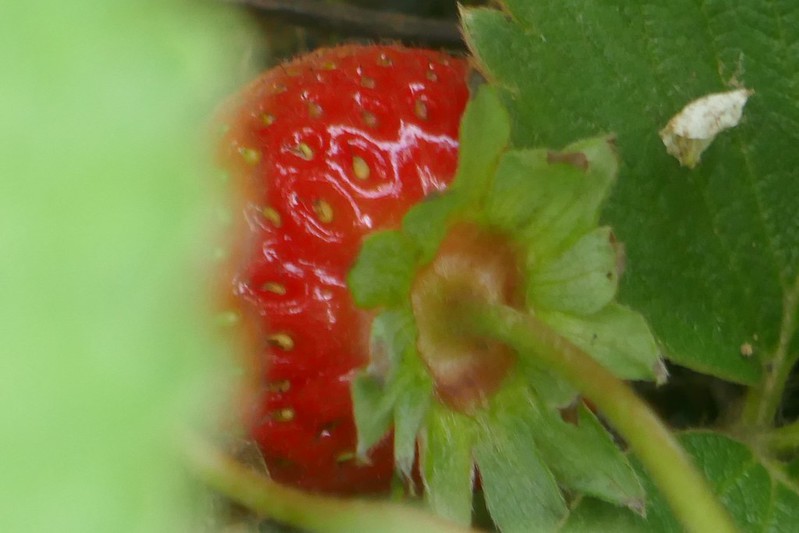
 If you enjoy vegetable gardening, container strawberries can be a fantastic crop to grow. Strawberries need a lot of space, so they can get sunlight, but they are very forgiving of different root conditions, so different types of containers will work easily for them.
One favorite for growing strawberries in containers is the hanging strawberry basket. Since strawberries need more leaf room than root room, you can place a few plants in a single basket and let them cascade over the edges. Growing strawberries in hanging baskets is also a great space-saving solution, since you don’t need a surface for them. If you don’t like the look of hanging baskets, you can get a similar effect with strawberry pots. Strawberry pots are pots with little pockets in the side. You place a strawberry plant in each pocket, and the leaves and fruit tumble down the sides of the pots. Strawberries love to hang, which makes growing strawberries in these containers ideal. If you don’t want to use fancy equipment for your gardening, container strawberries can also be placed in simple pots. If they don’t have room to cascade, keep one strawberry plant to a growing container. Strawberries need room to spread, and if they can’t do it vertically, they’ll do it horizontally. Note: Although they work very well in containers, growing strawberries indoors can be difficult, because they need a lot of light. If you prefer indoor gardening, container strawberries may not be for you. You can try placing them in a very sunny window with a southern exposure, but strawberries really need 8-10 hours of sunlight a day to thrive.
0 Comments
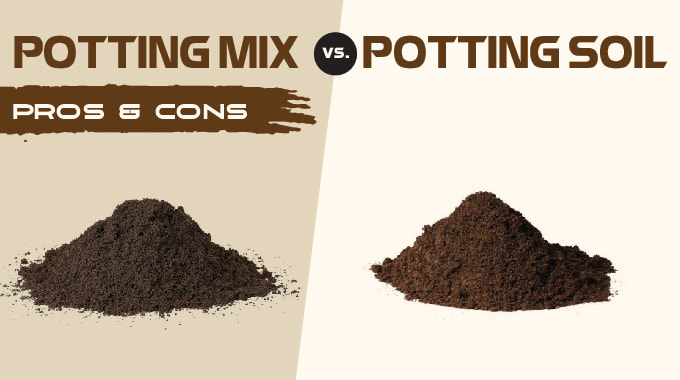 If you’ve spent much time in garden stores or hardware stores, you’ve probably seen a lot of bags of dirt for sale. They’re labeled differently depending on the purpose you want to put them to: topsoil, garden soil, potting soil, and potting mix are the most common. So, what are they? What kind of soil should you buy? What are the differences? Well, first off, you have plain old “Soil”, also called “Garden Soil” in some places. “Soil” means that they guarantee that the bag contains dirt. Of some sort. Frequently, it’s mixed with some clay or sand or other non-organics. It is not ideal for gardens of any sort. Don’t buy it, unless you just need to level holes in your yard or the like. Topsoil is supposed to be taken from the top layer of soil, hence the name. That top layer of soil is the richest. It contains decomposing material, and gets stirred up more than anything else. Genuine topsoil contains organics, and can be mixed into a garden bed to add volume. The difficulty is finding good topsoil. Many brands contain more clay than anything else, and it’s very hard to get good statistics on topsoils. Your best bet is to check the color. Rich-looking brown topsoils are likely to be more organic than pale or yellowish topsoils. Potting Soil is a little better than topsoil. It is lighter and doesn’t pack as much in the bag, keeping it looser. When you first plant in potting soil, it breathes better than topsoil, but that doesn’t last very long. The main feature of potting soil is that it contains something called perlite. What is perlite? It’s a volcanic glass that helps soil hold water better. When I’m starting seedlings for transplant outdoors, I use potting soil. For container gardening, though, you want potting mix. Potting mix isn’t really soil at all. Potting mix is made up of a combination of organic matter specifically designed to nourish plants. They don’t pack down as much as soil does, and they wick water without becoming oversaturated, so your plants maintain a good water balance. Soil can smother your plant roots, keeping oxygen away and leading to rot. Potting mix will provide a proper balance. Be careful of what you’re buying! Some manufactures will label their products as potting mix when they are not. Check the label to see what the main components of the mix are. A good potting mix will contain mainly peat moss, coconut fiber (coir), or bark fines, and will include perlite and vermiculite for drainage. If the mix contains soil, rock, or any “byproducts”, avoid it. One additional tip: potting mix is almost always sold by volume (eg, 2 cubic feet). Potting soil is sold by pound. If you use that as a guide, it will generally steer you clear. If you don’t want to spend the money for potting mix, you can make your own: there are some great guides out there on the internet. As a note: there is a growing trend in parts of the world away from using peat moss as a planting medium. In parts of Europe, they are experiencing a peat shortage due to overfarming of their bogs. If you want to use a zero-impact substitute for peat moss, you can use coconut coir to make your own. Coconut coir is a byproduct of the cococut industry. Canadian sphagnum peat moss is still abundant. Read Also: The Beauty of Home Production 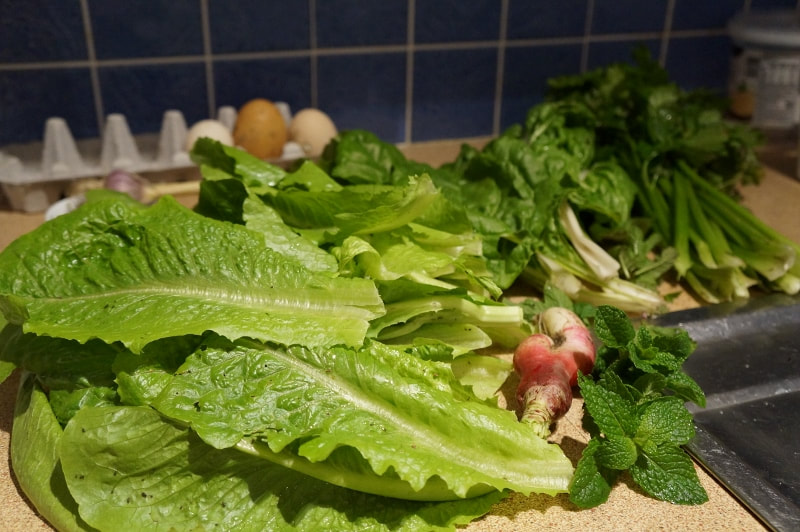 It is early spring here on the New South Wales south coast and the weather has been perfect for gardening. We’ve spent several lovely hours in the garden pottering and just soaking up our lovely surrounds. I was only marveling yesterday that at last the vision I had for a productive back yard has come to fruition. From the humble beginnings of a two metre square vegetable patch “trial” we now have a productive and beautiful large vegetable garden. That was a lovely realization that with perseverance and steady work we have achieved our dream of having a productive garden. 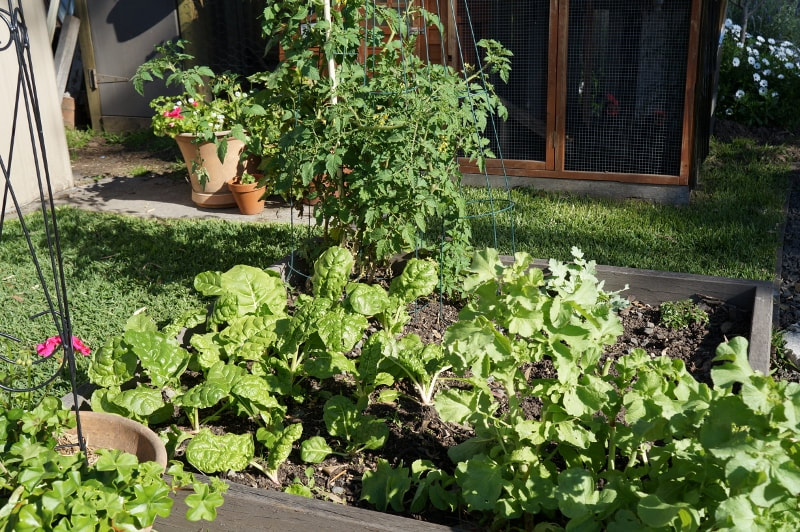 Silver beet, tomatoes covered in flowers, radish beginning to go to seed. We didn’t just go out and buy everything we wanted or thought we needed, we just gradually worked on one little area, then the next and so on. Wherever possible we used second hand materials which were given to us and sometimes saved up for other things like the two metal raised beds. We improved the soil a little at time, by learning to make compost and using all our green waste to dig in to poor soil or make homemade mulch. Little by little it has all come together to make an inviting and productive garden. 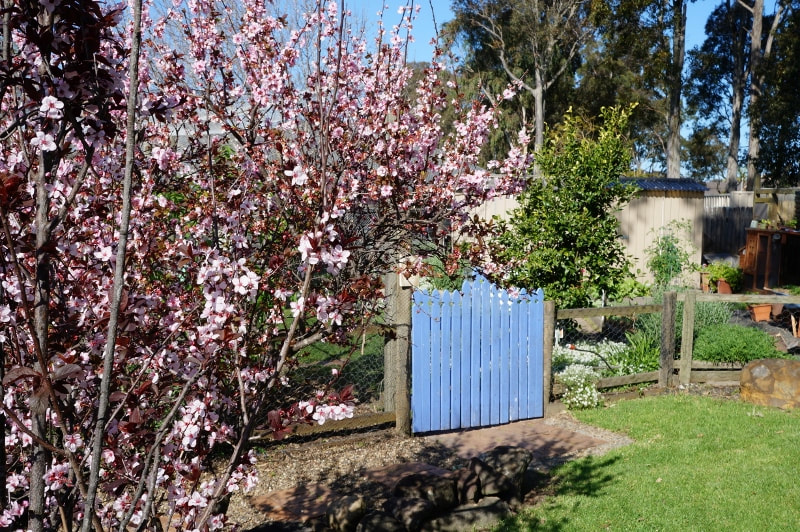 Wonderful flowering plums near the entrance to the veggie garden. There is something very satisfying about working with your hands and growing some of your food. It is also lovely to be enjoying flower gardens which have cost not a cent because they have been propagated from cuttings. Of course that requires some patience, but it has been so satisfying to see the results. The savings from growing some of your own food can be quite substantial if you are wise about what you grow etc. We try to just grow what we know we will eat, there’s no point growing things you don’t like. We also grow lots of greens which are cut and come again, so one punnet of Cos lettuce seedlings can produce a few months of lettuce. There is really nothing like using some of you land for home production. If you have a dream to grow some of your own food, just get outdoors and make a start, even if you just plant a pot of herbs to begin with! 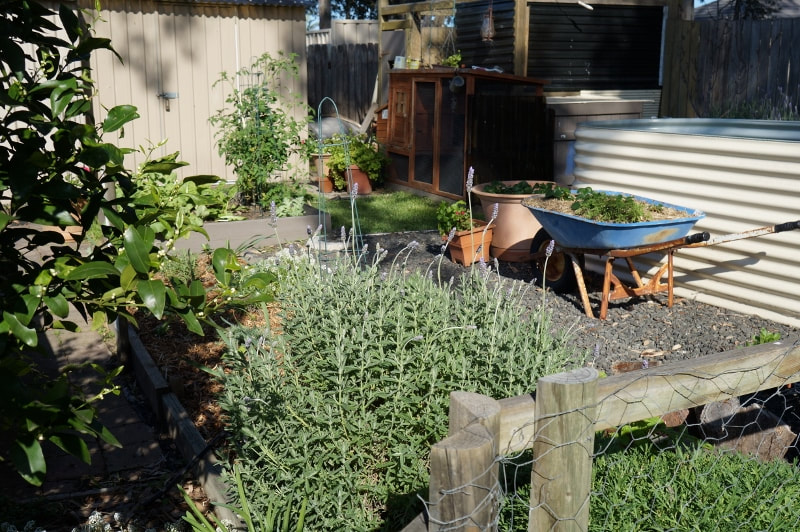 The veggie garden area now has a mix of raised vegetable beds and flower beds as well as several fruit trees. 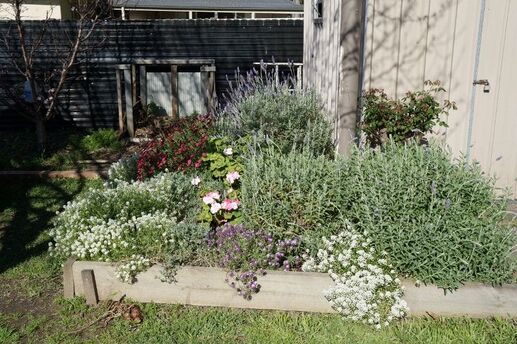 This little flower bed adds some beauty to the veggie garden as well as attracting bees and other beneficial insects.
 The very first vegetable I ever grew on my own was summer squash. I was around 10, and the site of my garden was incredibly impractical. I planted broccoli, corn, strawberries, brussel sprouts, zucchini, and crookneck squash. The zucchini and crookneck squash fed my family all summer. Nothing else had any yield at all.
Ever since then, every garden I’ve ever planted has had squashes in a place of pride. Whatever goes wrong with the rest of my garden, I know I can get some kind of yield from the squash. And I always have. But can you grow good squash in a container garden? Absolutely! In fact, the nature of summer squashes makes them ideal for container growing. Preparing Before you get started, you’ll need to make sure you have the following items:
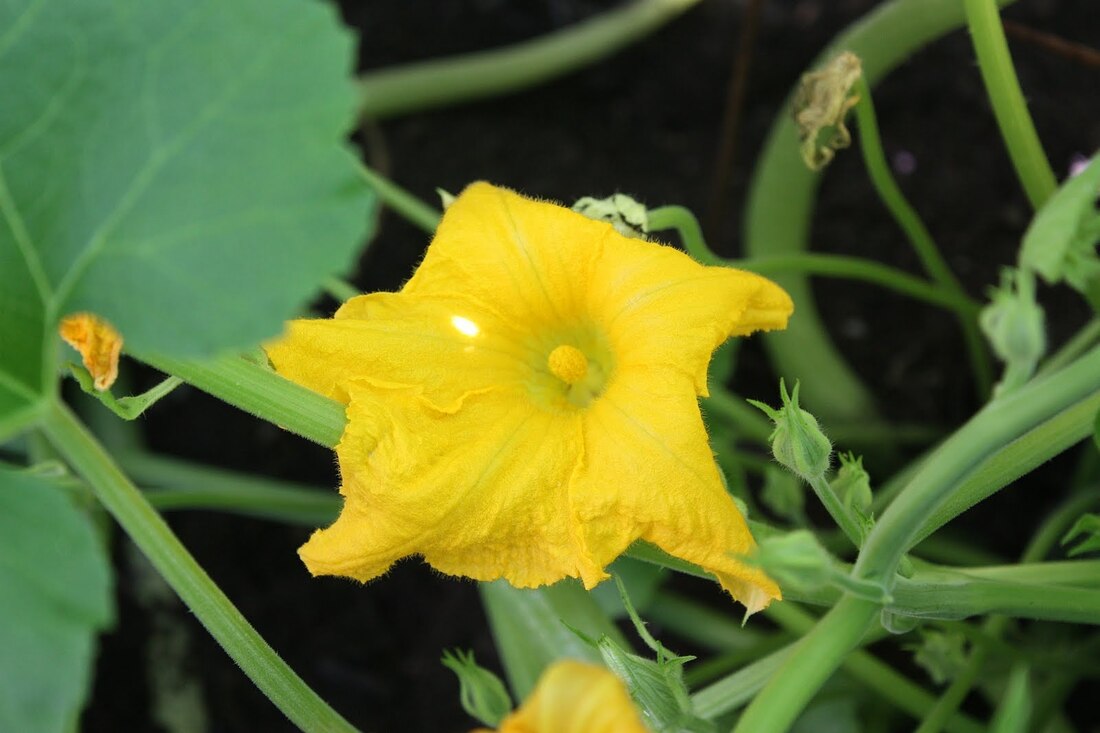
Planting Squash are very easy to grow from seed, but if you want to start from seedlings you can save some time. Plant 4-5 seeds per container, sowing them around an inch deep. The potting mix shouldn’t be heavily packed above them. Water that day and every 2-3 days after that if there’s no rain. In around a week, you should see vines popping up, and then leaves will form shortly afterward. Thin the seedlings, keeping the best 2-3 plants. Also Read: Hand-Pollinating Your Squash Growing Summer squash are hungry plants. They love fertilizer, sun, and water. Weeding and watering regularly will help the squash plant to thrive. Container garden squash can take two forms. If you choose bush plants, the leaves will spread to tumble out of the container in time. If you choose vining plants, you can train them to climb trellises or posts. Tip: Vining squash can root all along their vines. If you bury a few inches of vine in the soil, you will wind up with a much healthier and sturdier root system. Harvesting It takes summer squashes 45-60 days to reach maturity, depending on the variety. The first few flowers you see on the plant will probably be male. You can recognize female flowers by a swelling at the base, which male flowers will not have. Male flowers will never produce fruit, but male zucchini flowers can be harvested for eating. They can be fried or served fresh with salads. Summer squashes will grow very large, but they are at their best if you harvest them smaller: around 8-10 inches long. Pick them right before preparing for best flavor. |
AuthorWrite something about yourself. No need to be fancy, just an overview. ArchivesCategories |
 RSS Feed
Photo used under Creative Commons from Jeanne Menjoulet
